Creating Views for Different Devices
Time Estimate: 15 minutes
Difficulty Level: Intermediate
Summary
This example shows how to create specialized views for different wireless devices, such as iPhones, BlackBerries, and Android phones. Each device uses different templates but the same data from the controller.
The following topics will be covered:
- configuring application to recognize device-associated templates
- creating specialized views for wireless devices
- using query parameters to select the device view
- using the user agent to select the device view
Implementation Notes
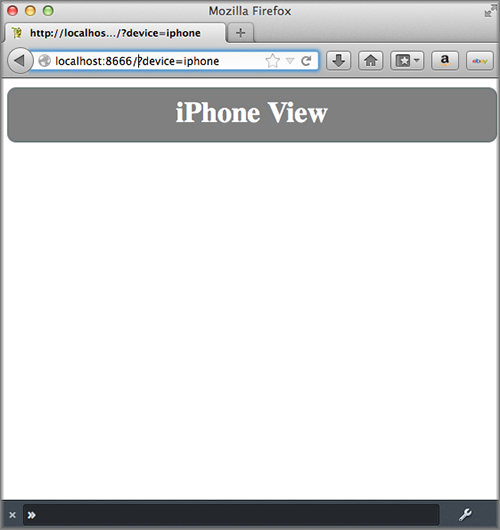
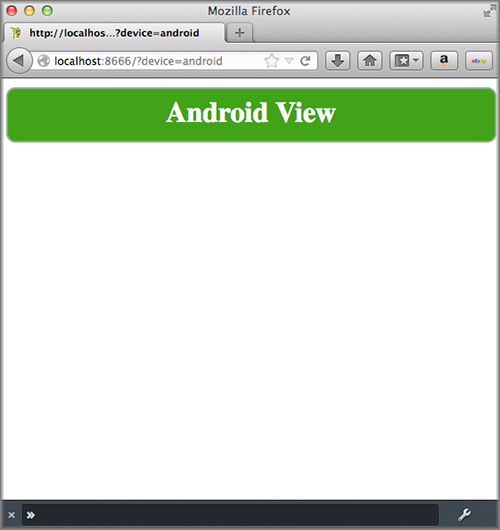
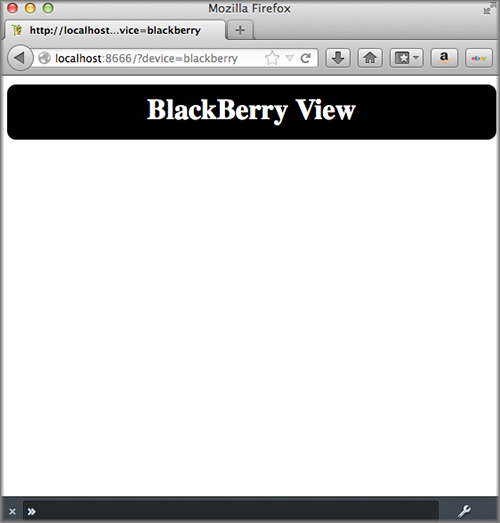
The following screenshots show you how the application appears on different devices.
Configuring Application to Use Device-Specific Templates
Context Configurations
Mojito allows you to map contexts to a set of configurations based on runtime factors. The context is defined by the setting property in the JSON configuration files. The default value for setting is master. Mojito will first look to see if a base context was set on the command line with the --context option, then at the HTTP headers and query string. In this example, we want contexts defined for different devices, so, in the application.json file, we’ll define contexts for Android, Blackberry, and iPhone with the following:
[
  {
    "settings": [ "master" ],
    ...
  },
  {
    "settings": [ "device:android" ],
    ...
  },
  {
    "settings": [ "device:blackberry" ],
    ...
  },
  {
    "settings": [ "device:iphone" ],
    ...
  }
]
You can also have contexts for environment, language, and region configurations, or create custom contexts. See Using Context Configurations.
selector Property
How does Mojito know which template file to use for a device? Mojito identifies files resources using the selector property in configuration files. In the application.json file, we can use the contexts for our devices with the selector property so Mojito knows what file resources to use for contexts associated with devices.
{
  "settings": [ "device:android" ],
  "selector": "android"
},
{
  "settings": [ "device:blackberry" ],
  "selector": "blackberry"
},
{
  "settings": [ "device:iphone" ],
  "selector": "iphone"
}
For example, when given the context device:iphone, Mojito will look for file resources that have the identifier iphone. For more information about the selector property, see Resource Store: selector Property.
Determining Context
Mojito uses two ways to determine which device is making an HTTP request for a page. The first way is to use the value assigned to the query string parameter device. For example, if Mojito received an HTTP GET request on the URL below, it would render the iPhone view into HTML and serve the page to the device.
http://localhost:8666?device=iphone
Mojito also uses the HTTP User-Agent header field to decide which view to render and serve. In this example HTTP header, the User-Agent field indicates that the HTTP request is coming from an Android device, so Mojito would use the Android template and serve the rendered HTML to the device.
Host: learnto.mobi
Accept-Encoding: gzip
Referer: http://learnto.mobi/
Accept-Language: en-US
User-Agent: Mozilla/5.0 (Linux; U; Android 2.2; en-us; PC36100 Build/FRF91) AppleWebKit/533.1 (KHTML, like Gecko) Version/4.0 Mobile Safari/533.1
Accept: application/xml,application/xhtml+xml,text/html;q=0.9,text/plain;q=0.8,image/png,*/*;q=0.5
Accept-Charset: utf-8, iso-8859-1, utf-16, *;q=0.7
Creating Templates for Devices
For each device’s customized view, you need to create a template. This code example uses the templates to create customized views for iPhones, Android phones, and BlackBerries.
Naming Convention for Templates
The naming convention for template files has the following syntax, where {selector}``is the string identifier (defined by the ``selector property) of a device, such as “iphone”:
{action}.{selector}.{rendering_engine}.html
Templates for This Example
This code example uses the following template files, where hb represents the Handlebars rendering engine:
- index.iphone.hb.html
- index.android.hb.html
- index.blackberry.hb.html
Thus, if an iPhone was making an HTTP GET request on the index (action) file and the template was being rendered by the Handlebars rendering engine, Mojito would use index.iphone.hb.html and serve the rendered view to the iPhone.
Setting Up this Example
To set up and run device_views:
Create your application.
$ mojito create app device_views
Change to the application directory.
Create your mojit.
$ mojito create mojit device
To configure you application, replace the code in application.json with the following:
[
  {
    "settings": [ "master" ],
    "specs": {
      "device": {
        "type" : "device"
      }
    }
  },
  {
    "settings": [ "device:android" ],
    "selector": "android"
  },
  {
    "settings": [ "device:blackberry" ],
    "selector": "blackberry"
  },
  {
    "settings": [ "device:iphone" ],
    "selector": "iphone"
  }
]
Update your app.js with the following to use Mojito’s middleware, configure routing and the port, and have your application listen for requests:
'use strict';

var debug = require('debug')('app'),
    express = require('express'),
    libmojito = require('mojito'),
    app;

    app = express();
    app.set('port', process.env.PORT || 8666);
    libmojito.extend(app);

    app.use(libmojito.middleware());

    app.get('/status', function (req, res) {
        res.send('200 OK');
    });
    app.get('/', libmojito.dispatch('device.index'));

    app.listen(app.get('port'), function () {
        debug('Server listening on port ' + app.get('port') + ' ' +
        'in ' + app.get('env') + ' mode');
    });
    module.exports = app;
Confirm that your package.json has the correct dependencies as show below. If not, update package.json.
"dependencies": {
    "debug": "*",
     "mojito": "~0.9.0"
},
"devDependencies": {
    "mojito-cli": ">= 0.2.0"
},
From the application directory, install the application dependencies:
$ npm install
Change to mojits/device.
Replace the code in controller.server.js with the following:
YUI.add('device', function(Y, NAME) {
  Y.namespace('mojito.controllers')[NAME] = {

    /* Method corresponding to the 'index' action.
    *
    * @param ac {Object} The action context that
    * provides access to the Mojito API.
    */
    index: function(ac) {
      ac.done({title: 'Device Views'});
    }
  };
}, '0.0.1', {requires: []});
To modify the default template, replace the code in views/index.hb.html with the following:
<html>
  <head>
    <style type="text/css">
    h2 {
         border-style: solid;
         border-width: 2px;
         border-color: #461B7E;
         -webkit-border-radius: 10px;
         -moz-border-radius: 10px;
         border-radius: 10px;
         margin: 10px 0px;
         padding: 10px 0px;
         background-color: #606;
         text-align: center;
         font-weight: bold;
         font-size:2.0em;
         color: #FFF;
         width: 100%;
       }
    </style>
  </head>
  <body>
    <div id="" class="mojit">
      <h2>Default View</h2>
    </div>
  </body>
</html>
For the iPhone view, create the views/index.iphone.hb.html file with the following:
<html>
  <head>
    <style type="text/css">
    h2 {
         border-style: solid;
         border-width: 2px;
         border-color: #717D7D;
         -webkit-border-radius: 10px;
         -moz-border-radius: 10px;
         border-radius: 10px;
         margin: 10px 0px;
         padding: 10px 0px;
         background-color: #808080;
         text-align: center;
         font-weight: bold;
         font-size:2.0em;
         color: #FFF;
         width: 100%;%;
       }
    </style>
  </head>
  <body>
    <div id="" class="mojit">
      <h2>iPhone View</h2>
    </div>
  </body>
</html>
For the Android view, create the views/index.android.hb.html file with the following:
<html>
  <head>
    <style type="text/css">
    h2 {
         border-style: solid;
         border-width: 2px;
         border-color: #8BB381;
         -webkit-border-radius: 10px;
         -moz-border-radius: 10px;
         border-radius: 10px;
         margin: 10px 0px;
         padding: 10px 0px;
         background-color: #41A317;
         text-align: center;
         font-weight: bold;
         font-size:2.0em;
         color: #FFF;
         width: 100%;
       }
    </style>
  </head>
  <body>
    <div id="" class="mojit">
      <h2>Android View</h2>
    </div>
  </body>
</html>
For the BlackBerry view, create the views/index.blackberry.hb.html file with the following:
<html>
  <head>
    <style type="text/css">
    h2 {
         border-style: solid;
         border-width: 2px;
         border-color: black;
         -webkit-border-radius: 10px;
         -moz-border-radius: 10px;
         border-radius: 10px;
         margin: 10px 0px;
         padding: 10px 0px;
         background-color: #000;
         text-align: center;
         font-weight: bold;
         font-size:2.0em;
         color: #FFF;
         width: 100%;
       }
    </style>
  </head>
  <body>
    <div id="" class="mojit">
       <h2>BlackBerry View</h2>
    </div>
  </body>
</html>
From the application directory, run the server.
$ node app.js
To view your application, go to the URL:
Request the iPhone view by adding query string parameter ?device=iphone: